How to Make a Wire Shoe Rack
How to Make a Wire Shoe Rack
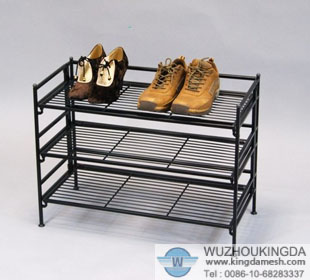
Building a wire shoe rack is an efficient and inexpensive way to remove clutter from your closet. By lifting your shoes off of the ground and putting them in a dedicated location you will be able to use your closet space to organize the rest of the items in it.
Instructions
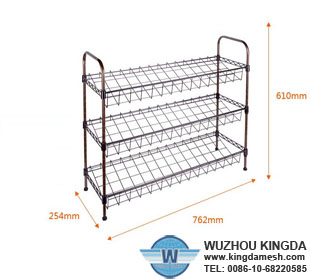
1 Measure the length of the closet space where you want your shoe rack placed. In order to build an effective wire shoe rack you need to use an area of the closet where you can attach the wire to parallel walls.
2 Cut two pieces of thick-gauge wire to the length of the wire shoe rack plus 4 to 6 inches.
3 Screw an L-bracket onto the side wall about an inch from the back wall at the height you want the first rack to be placed. It does not matter whether the L-bracket is placed on the wall right-side-up or up-side-down. Attach an L-bracket onto the parallel wall in the exact same place.
4 Screw in another L-bracket in front of the first bracket you screwed into the wall. This bracket should be placed at the same height about 3 or 4 inches away from the first bracket. Repeat this on the wall parallel to the bracket you placed. You should have four L-brackets on the wall, two on each side.
5 Tie one end of the first thick-gauge wire onto the outside hole of the front L-bracket. Tie the other end of the wire on the L-bracket placed on the opposite wall. Cut off any part of the wire that protrudes from the knot.
6 Tie the second thick-gauge wire to the outside hole of the L-bracket in the back. Tie the other end to the opposite L-bracket and cut off any piece of wire that protrudes from the knot.