How to Install a Welded Wire Panel Onto a Post
How to Install a Welded Wire Panel Onto a Post
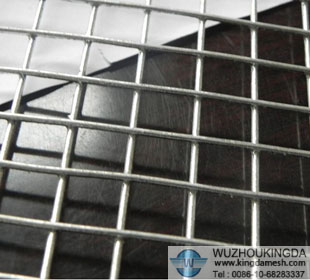
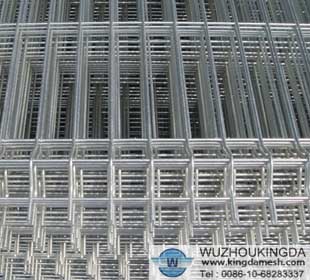
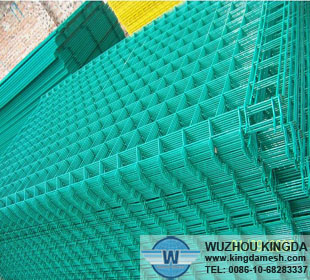
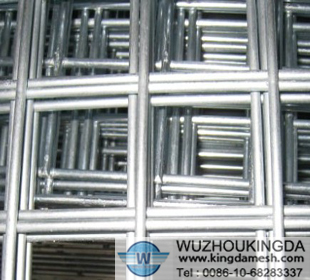
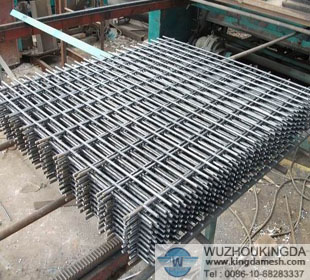
Farmers and landowners use welded wire panels for livestock containment fences and security fencing and to exclude wildlife from garden areas. The rigid fencing is sold by the panel and requires the placement of posts to correspond with the length of the panel as well as intermediate posts for support. Properly attaching the panels to the posts is critical to the stability and strength of the fence.
Instructions
1 Measure the length of the welded wire panel. Mark out locations for posts to coincide with the lengths of the panels. For example, if the panels are 12 feet long, place a marker for a post every 12 feet along the planned fence line. Add additional post markers between the posts for supports.
2 Dig postholes for each post that are one-third the height of the posts. Place the posts in the holes and tamp the soil around the posts while holding them plumb.
3 Fasten the bracket completely around the post, with the wire of the fence panel fitting into a channel within the bracket. Fit the bolt--usually a 1/4-inch galvanized bolt--through the bracket and tighten with a wrench. Use a minimum of two brackets per post for fences up to 4 feet high and up to five brackets for panels up to 8 feet tall.
Tips & Warnings
The bracket system requires the use of square posts usually marketed by the welded wire fence panel manufacturer. Another option is to wrap light, 18-gauge wire around the post and wires of the fence panel. Twist the wire ends together to tighten it around the post and fence panel. This is less secure than brackets but sufficient for wildlife exclusion fences around a garden and other places where the fence won't be under heavy strain.