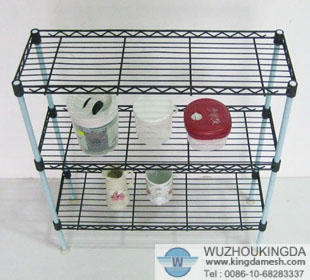
Install a Wire Shelf
Adding wire shelving to unused closet or garage space is an easy do-it-yourself project. Purchase the right length of wire shelf along with the corresponding wall clips and support braces appropriate for your wall type-and you're all set. Here are the steps for installation.
Instructions
1
Check your specs. How long should the shelf be? How many adjacent walls are you attaching it to? What type of wall do you have? The answers will determine how many wall clips, support braces and end brackets you will require, and how they will be attached to the wall. Wall clips must be about 12 inches apart; support braces must be 2 to 3 feet apart. Installing a shelf on drywall requires an anchor or molly for every screw.
2
Purchase the shelf and all the accessories. Some shelves are sold as complete kits. Check if they are appropriate for your type of wall.
3
Use a level and a pencil to mark the locations of the wall clips. Nothing looks more poorly done (and potentially hazardous) than a crooked shelf.
4
Install the wall clips according to the manufacturer's instructions. You might need to drill pilot holes before attaching the wall clips.
5
Hang the wire shelf on the wall clips.
6
Raise the shelf to estimate the location of the end brackets. Use a level to mark the installation points. Raise the shelf higher than the installation points and then install the brackets according to the manufacturer's instructions. Lower the shelf into position on the brackets.
7
Install the support braces underneath the shelf. Each brace will have a top part that should be attached to the shelf and a lower part that should be screwed to the wall. Use a level to ensure that the brace is correctly supporting the shelf.


